Additive manufacturing has become ubiquitous in prototyping and one-off manufacturing, and it's increasingly used in large-scale production. 3D printing offers low tooling costs and quick turnarounds, as well as design freedom that lets engineers produce complex parts that can't be molded or machined.
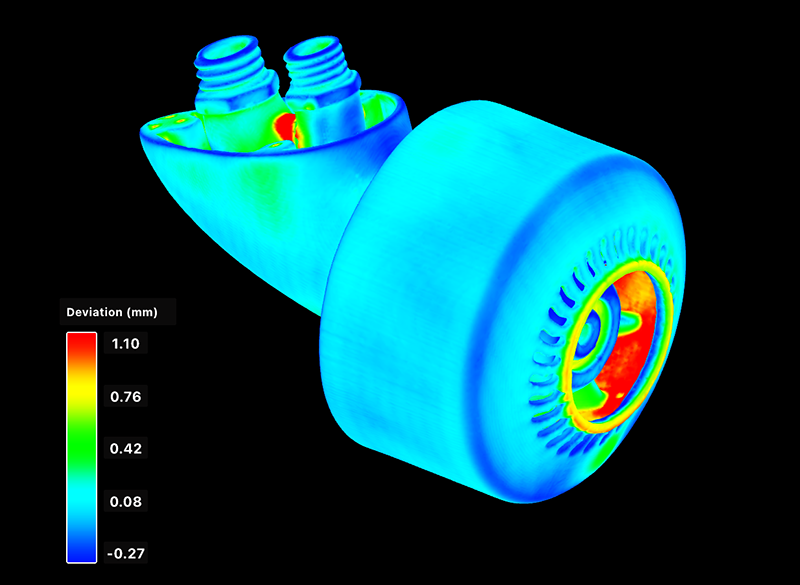
Industrial CT gives engineers a powerful tool for looking inside parts to pinpoint issues like dimensional inaccuracies, trapped powder, closed channels, and porosity. Watch industrial CT in action below, and contact us if you'd like to learn more.
Industrial CT in action
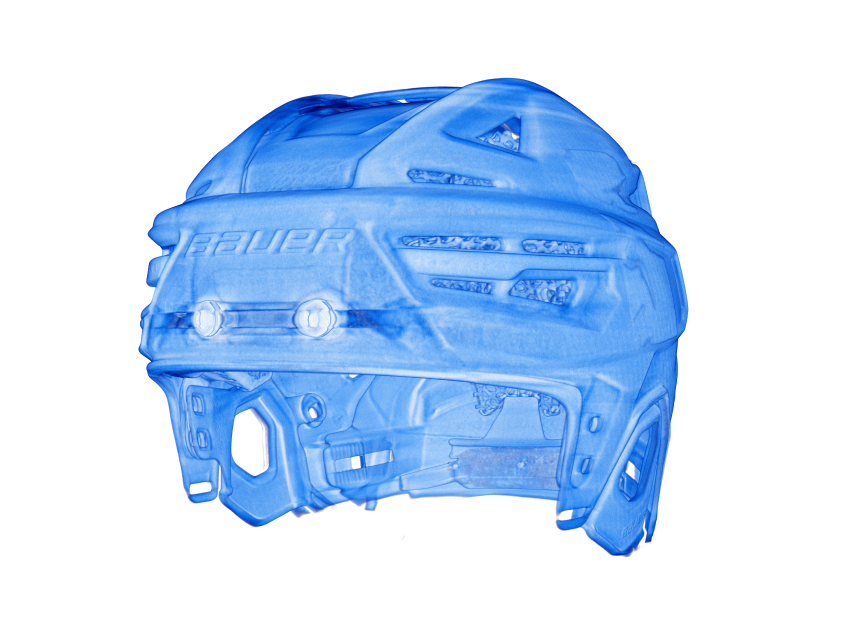
Scan of the Month: 3D printing
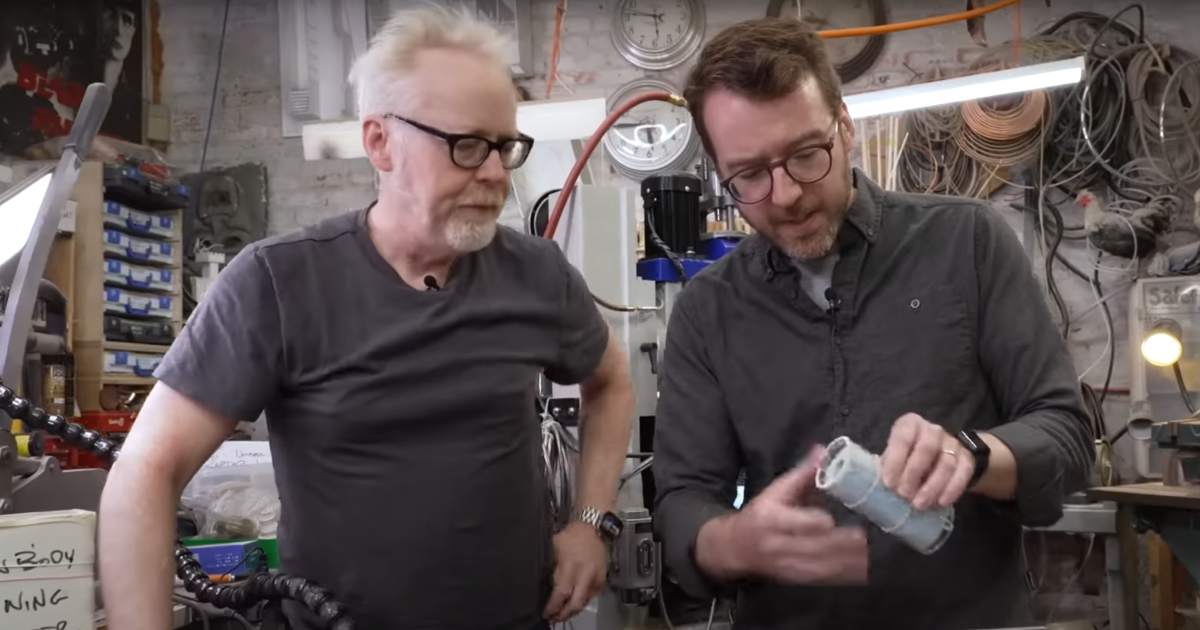
Recovering Star Wars history with Adam Savage
Free webinar
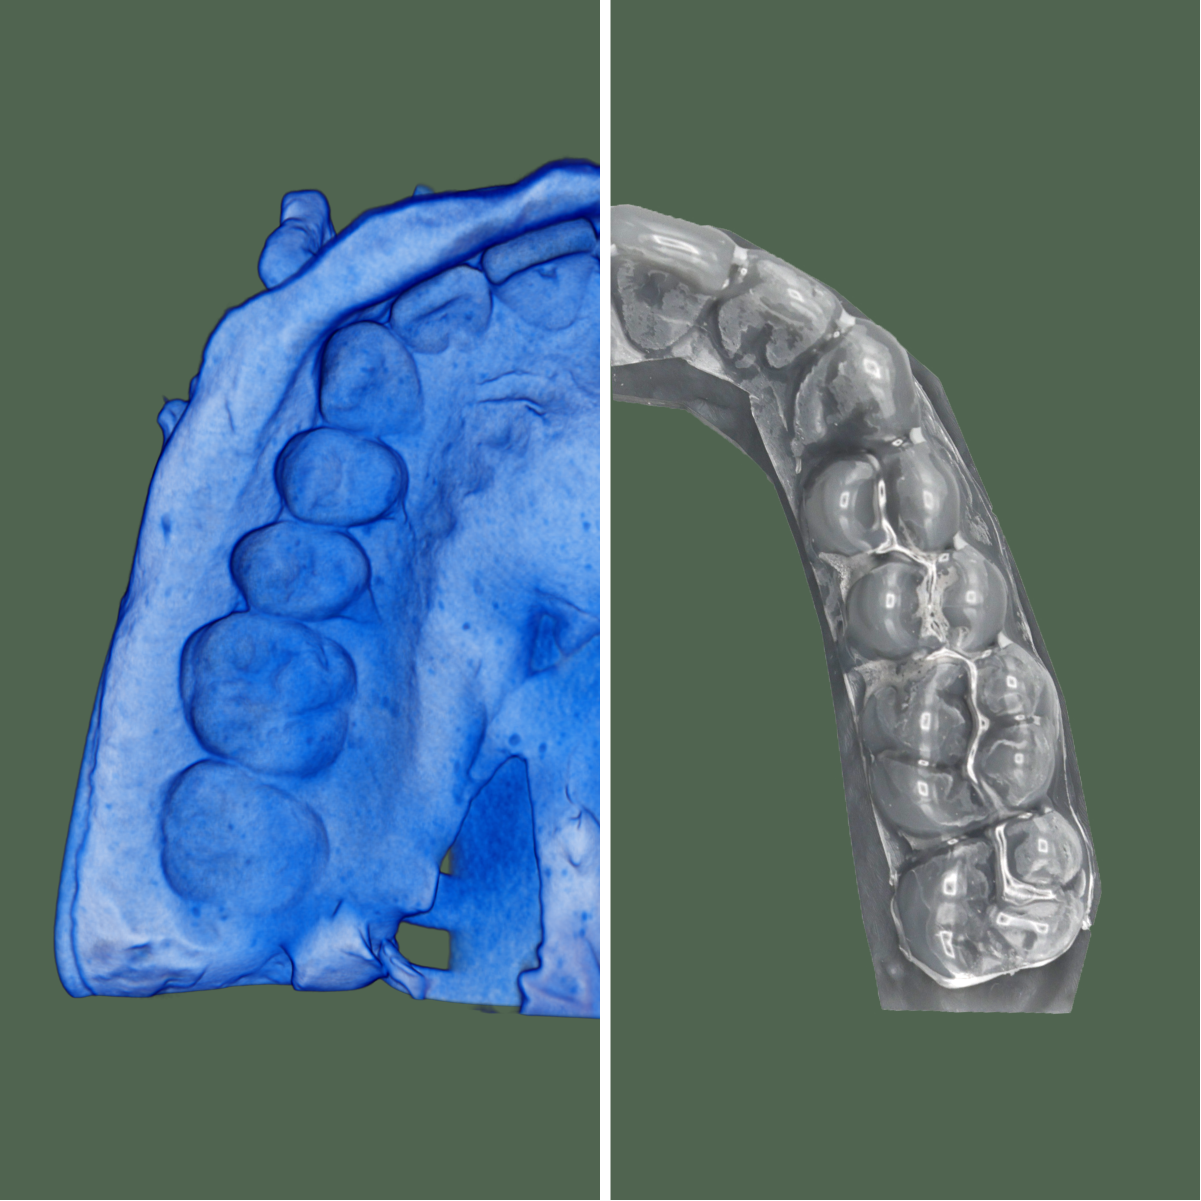
CT for dental labs
CT for high-volume 3D production
Explore processes
Explore 3D printing processes
It can be challenging to use additive manufacturing in serial production. Each 3D printing process has its own balance of advantages and disadvantages and requires specialized design knowledge to get the best possible results. Variation within batches tends to be a serious challenge, whether from the printing process itself or from manual post-processing.
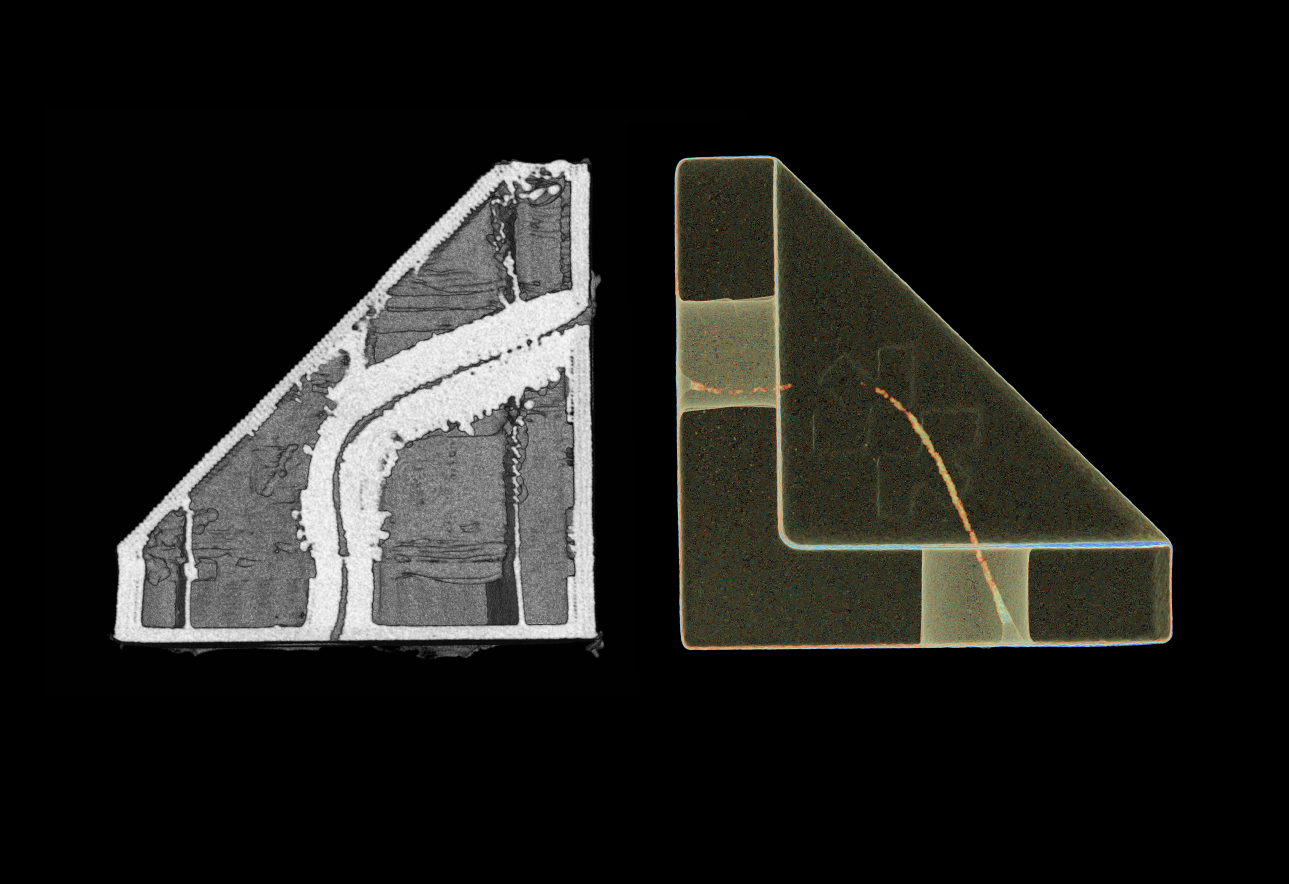
That means careful inspection is critical when additive manufacturing is used in production. Industrial CT scanning is an ideal counterpart to 3D printing: it can quickly pinpoint invisible defects like trapped powder, closed channels, and internal voids and pores, and it's accurate enough to characterize dimensional outcomes and surface quality. CT scanners can also generate detailed models of existing parts and export them for 3D printing, giving manufacturers unprecedented control of their supply chains.
In this series we describe common 3D printing processes and their typical defects as found with a Lumafield Neptune industrial CT scanner. Visit the articles below to begin exploring.


