Manual sectioning vs. industrial CT
A new industrial inspection technology can eliminate hours of painstaking work
For many engineers, seeing inside components is essential for driving innovation and ensuring quality. However, getting a good look inside a complex component often involves destructive testing–a painstaking, dangerous, and messy process that sometimes destroys a critical part or disrupts the area under investigation.
Industrial X-ray Computed Tomography (CT) technology can provide deeper insights than destructive testing, and is faster, safer, and non-destructive. This technology was previously expensive and difficult to use, but it has recently become inexpensive and user-friendly, making it an accessible front-line tool for many engineers.
Cross-sectioning
Cross-sectioning is a well-established destructive testing method widely used in industrial inspection to analyze the internal structures of components. This process involves embedding the part in a resin, which is then cut to expose the area of interest. The exposed cross-section is subsequently polished and examined, typically under a microscope, to reveal details about material composition, integrity, and potential defects like voids, cracks, or poor soldering.
The cross-sectioning process involves four time-intensive steps:
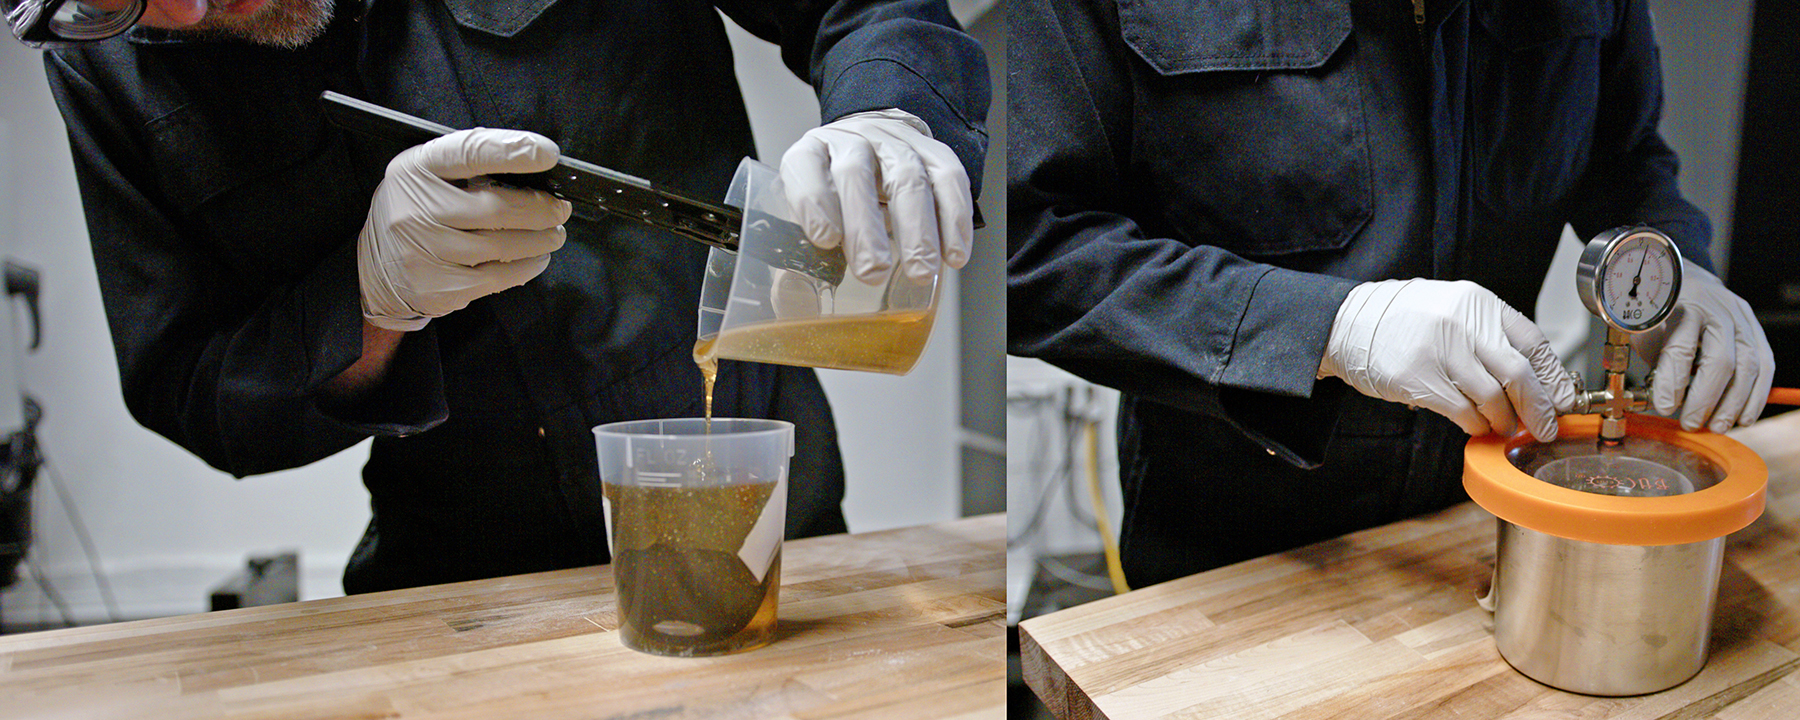
1. Potting in epoxy
The component is embedded in epoxy, often under vacuum to prevent air bubbles. This step is essential for stabilizing the part for subsequent sectioning. The potting process itself is quick, but the curing time for the epoxy can range from several hours to a full day, depending on the epoxy's properties and the component's size.
2. Sectioning
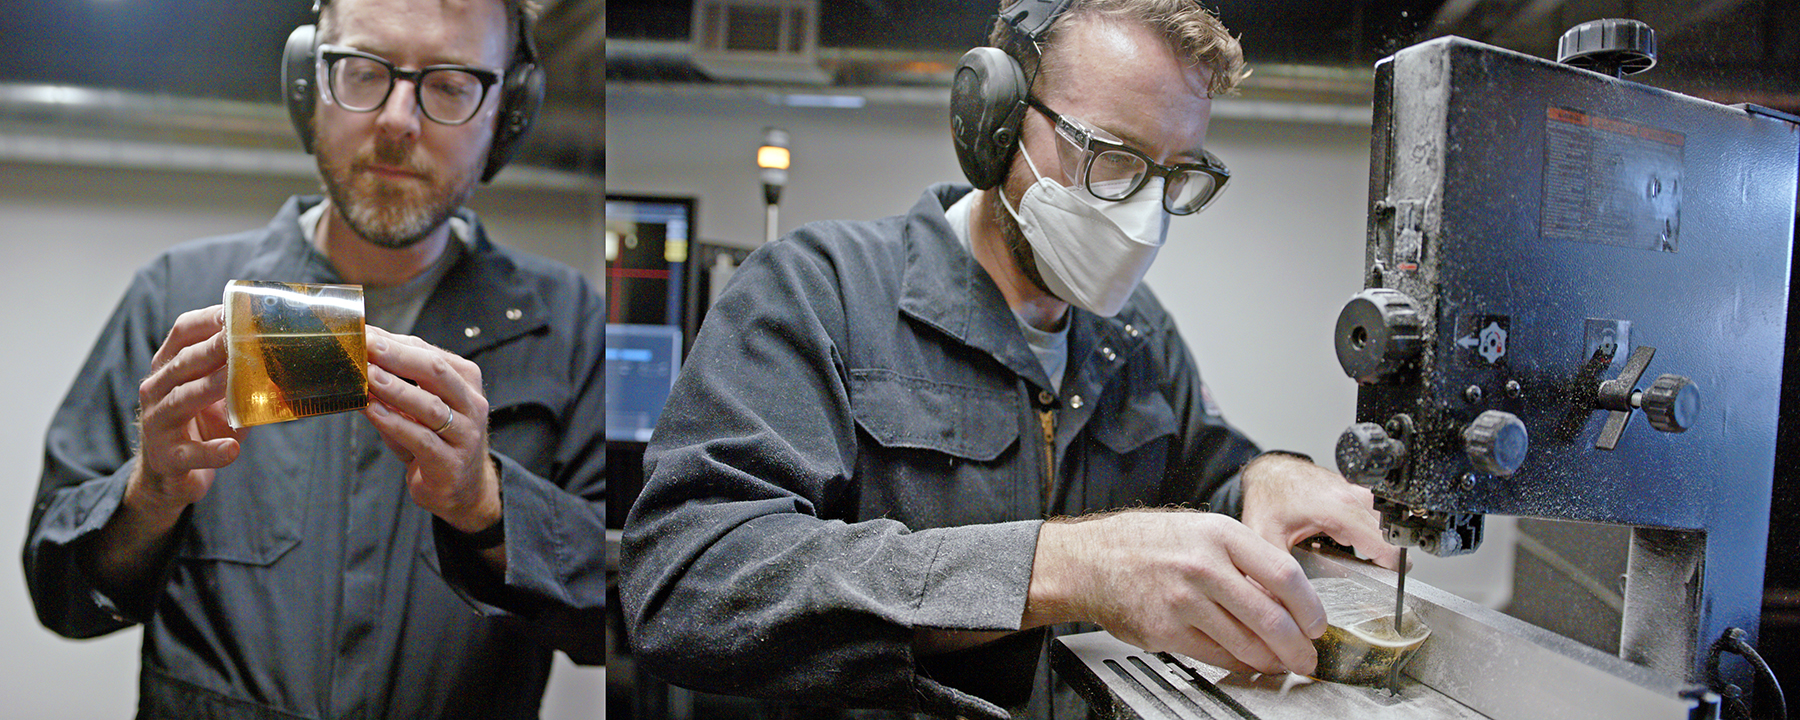
Once cured, the encapsulated component is cut to expose the area of interest. This precision cutting process can vary in duration based on the material and the complexity of the cut but may take anywhere from a few minutes to more than an hour.
3. Polishing
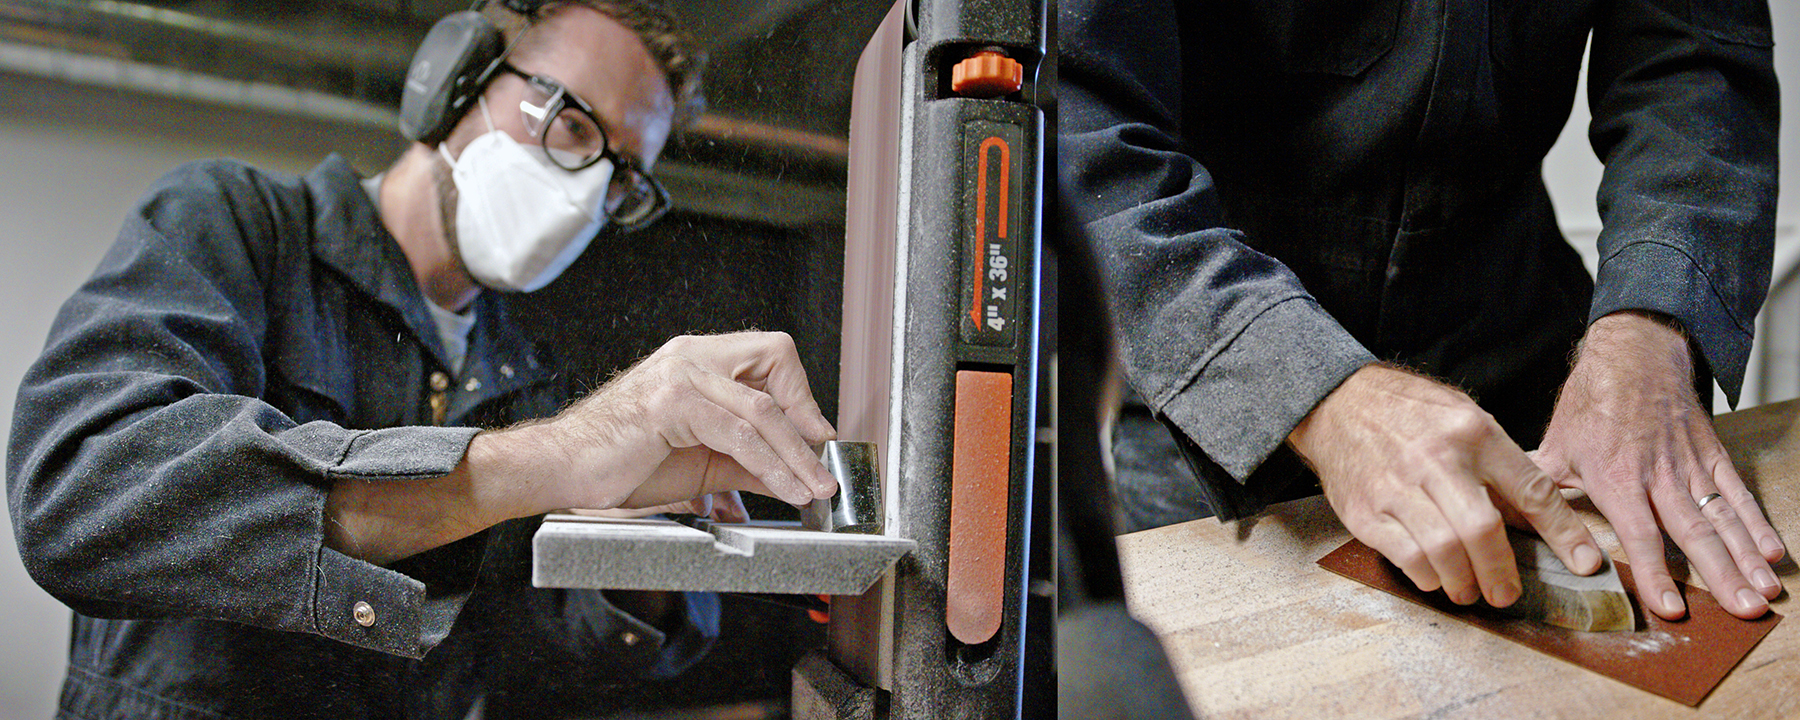
After sectioning, the sample undergoes extensive polishing to prepare it for detailed inspection. This crucial step, which ensures a smooth and clear surface for analysis, can take several hours depending on the required level of detail.
4. Inspection
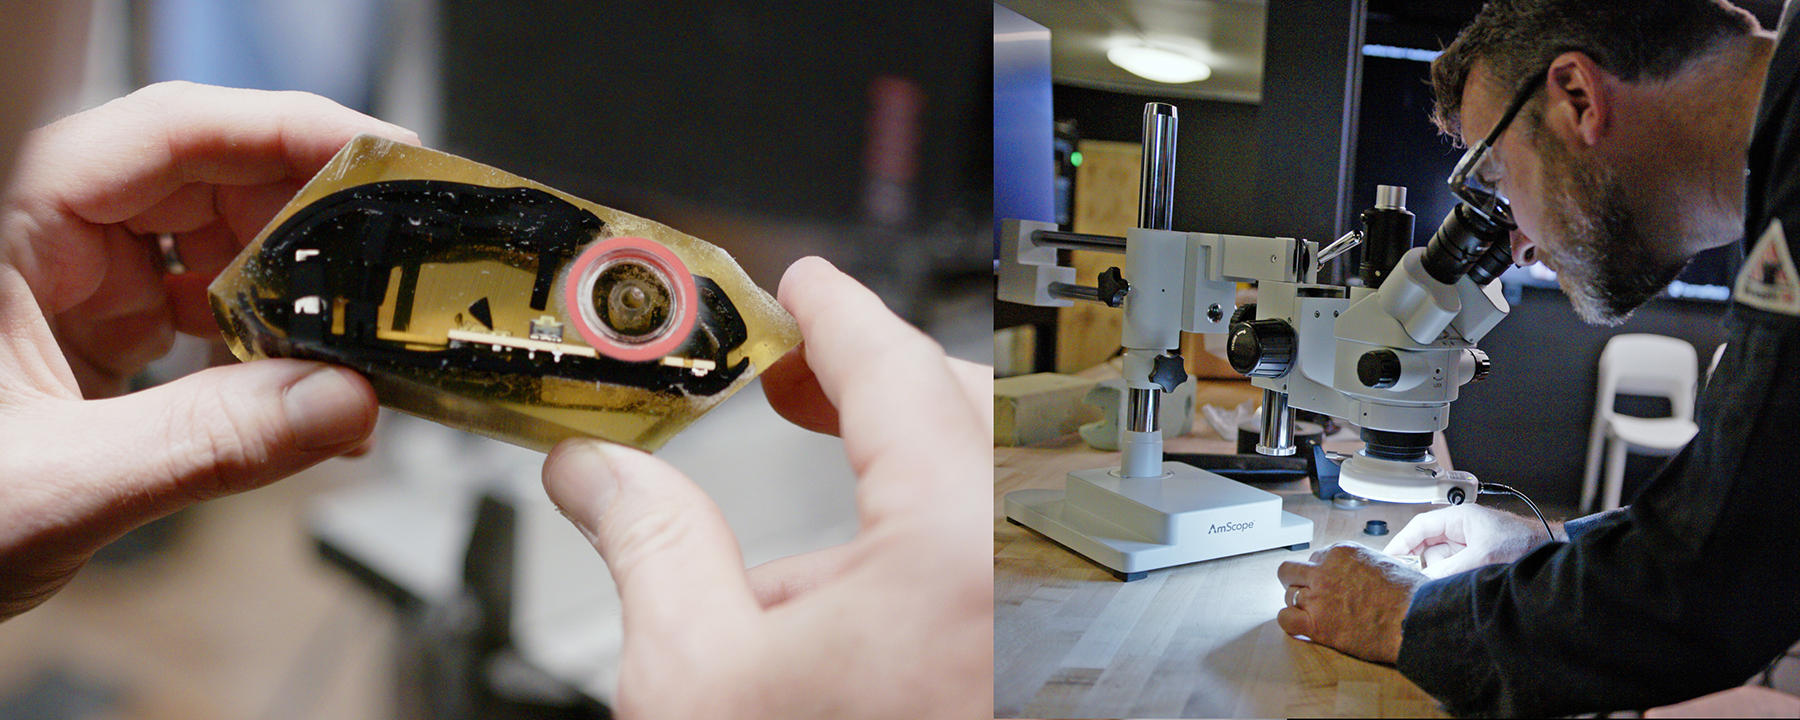
The final step is the microscopic examination and analysis of the polished section. This phase can add several more hours, depending on the complexity of the component and the depth of analysis required.
In total, the entire process from potting to analysis can take up to several days. This timeframe underscores the considerable investment in terms of workdays and engineering hours required for the cross-sectioning process, despite its analytical benefits. And, of course, a component sectioned in this way cannot be reused or reassembled for inspection along a different plane.
Industrial X-ray CT
Lumafield’s industrial X-ray Computed Tomography (CT) scanning represents a leap forward in non-destructive testing technology, offering a quick, safe, and comprehensive alternative to traditional methods like cross-sectioning. Lumafield’s Neptune scanner operates by rotating a component within an X-ray beam, capturing a series of 2D images from different angles. These images are then reconstructed into a detailed 3D model of the component, allowing for thorough internal and external examination without any physical alteration or destruction.
Lumafield's CT scanning technology offers several advantages in a wide range of inspection tasks:
- Speed and efficiency: One of the most significant benefits is the rapid turnaround time. Unlike the lengthy process of cross-sectioning, CT scans can be completed in as little as a few minutes, depending on the material composition and size of the component. This efficiency dramatically increases productivity and reduces the time to actionable insights.
- Non-destructive analysis: The non-destructive nature of CT scanning means that the inspected component remains intact and functional, allowing for subsequent tests or use in applications, a clear advantage over methods that render samples unusable. And unlike destructive inspection methods, industrial CT doesn’t disrupt the sample in the area that’s being inspected.
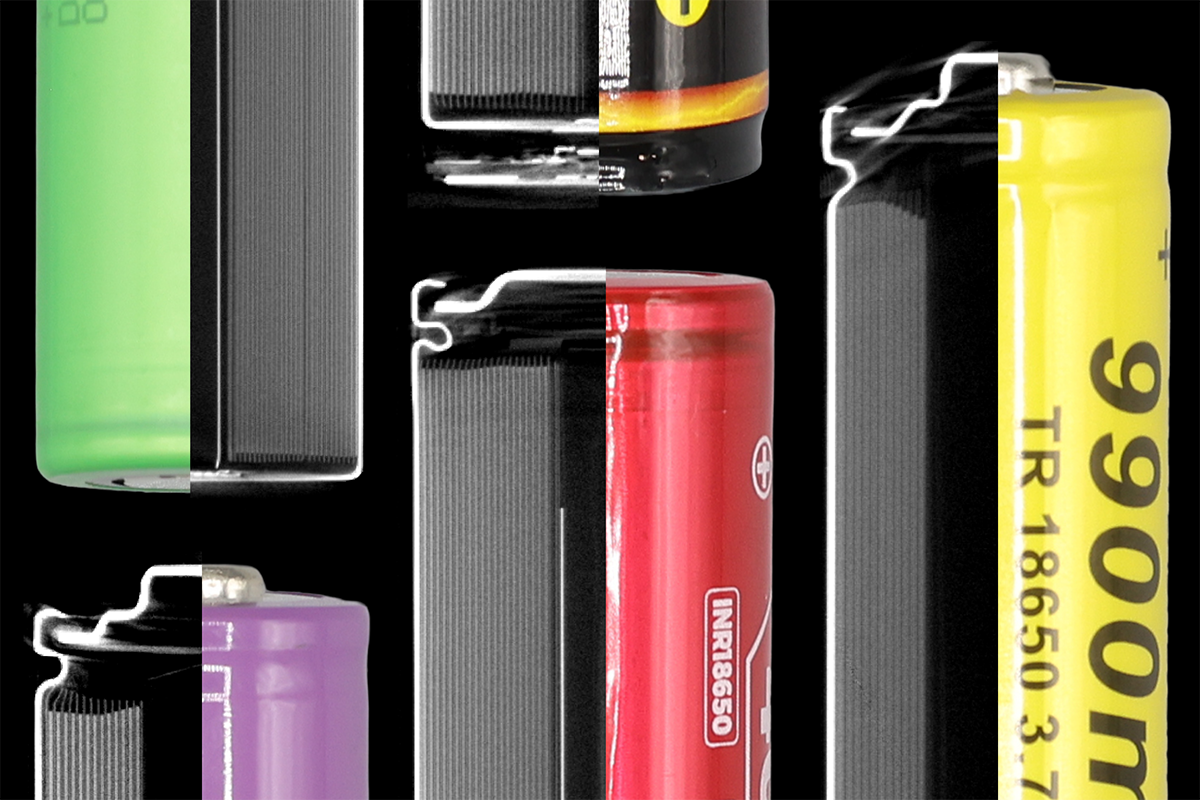
- Comprehensive visualization: Lumafield’s CT technology provides high-resolution 3D images, enabling detailed analysis of both internal structures and external features. This comprehensive view is invaluable for identifying defects, verifying assembly accuracy, and understanding failure mechanisms.
- Accessibility and versatility: The user-friendly interface of Lumafield's browser-based Voyager analysis software, combined with the scanner’s ability to handle a variety of materials and component sizes, makes it accessible to a wide range of industries and applications, from electronics and aerospace to medical devices and beyond. Voyager allows teams to collaborate on scans securely from anywhere in the world, with nothing but a web browser.
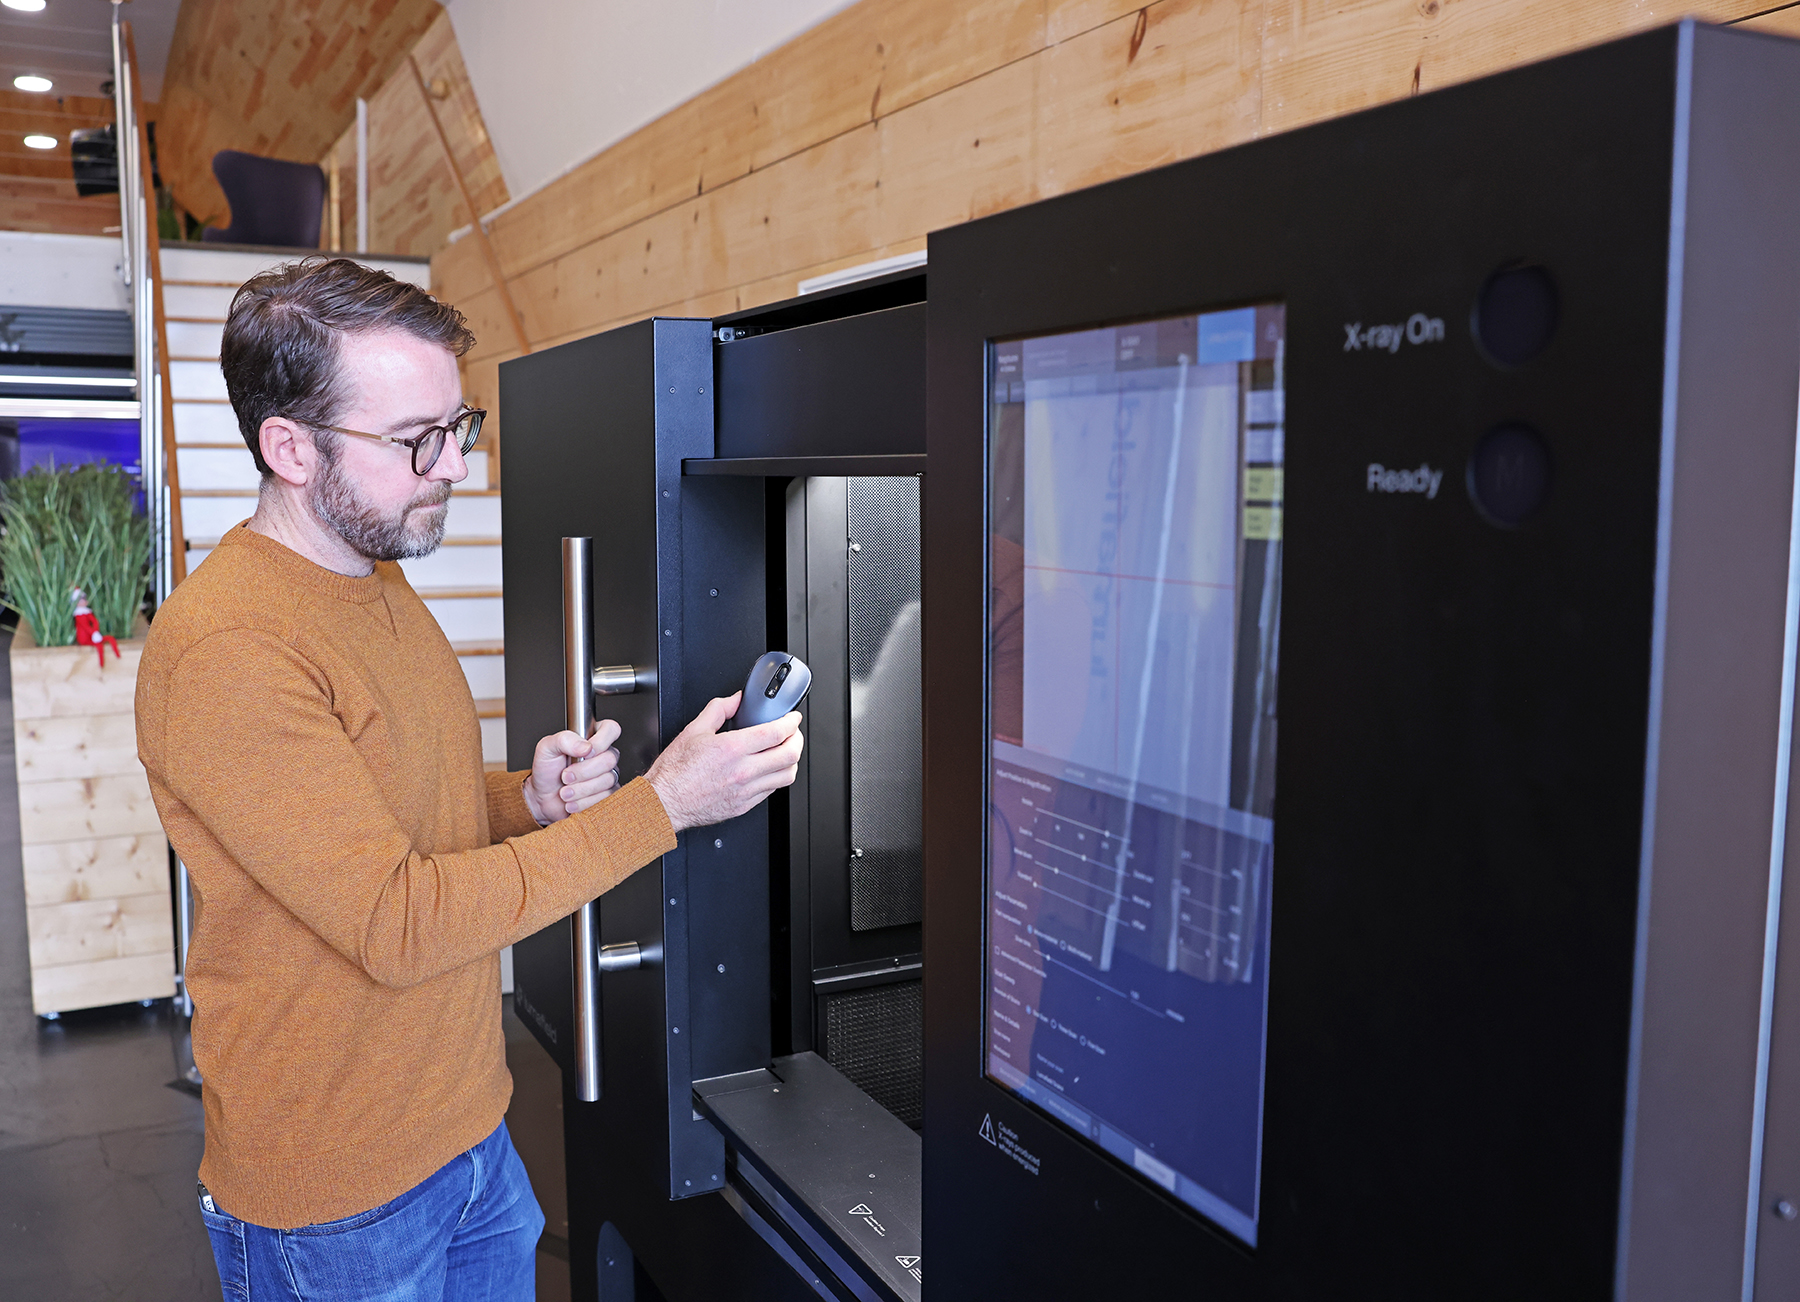
Industrial CT not only offers a more efficient and less labor-intensive alternative to traditional inspection methods but also provides enhanced analytical capabilities, making it an invaluable tool in modern industrial quality control and product development.
Comparative analysis
While cross-sectioning provides undeniable insights, its destructive nature can be a significant limitation, especially in R&D and quality control contexts. For instance, companies often enter contracts with suppliers where dissecting a component is either prohibited due to confidentiality agreements or impractical as it would destroy the part and any evidence of defects. In such scenarios, Lumafield’s non-destructive CT scanning offers an ideal solution, enabling detailed internal inspection without violating contractual terms or damaging the component.
Consider the example of a company that manufactures consumer electronics. In traditional failure analysis, a product would need to be disassembled to find the likely point of failure, then reassembled, potted, and sectioned in exactly the right place – a time-consuming and potentially costly process that often fails to find the point of interest. However, by using industrial CT, the company could simply scan the product to inspect its components in situ, searching freely through the assembly and quickly finding the root cause of the defect. This approach not only saves significant operator time but also allows for immediate analysis and resolution of the issue, without the need to prepare and destroy the entire unit.
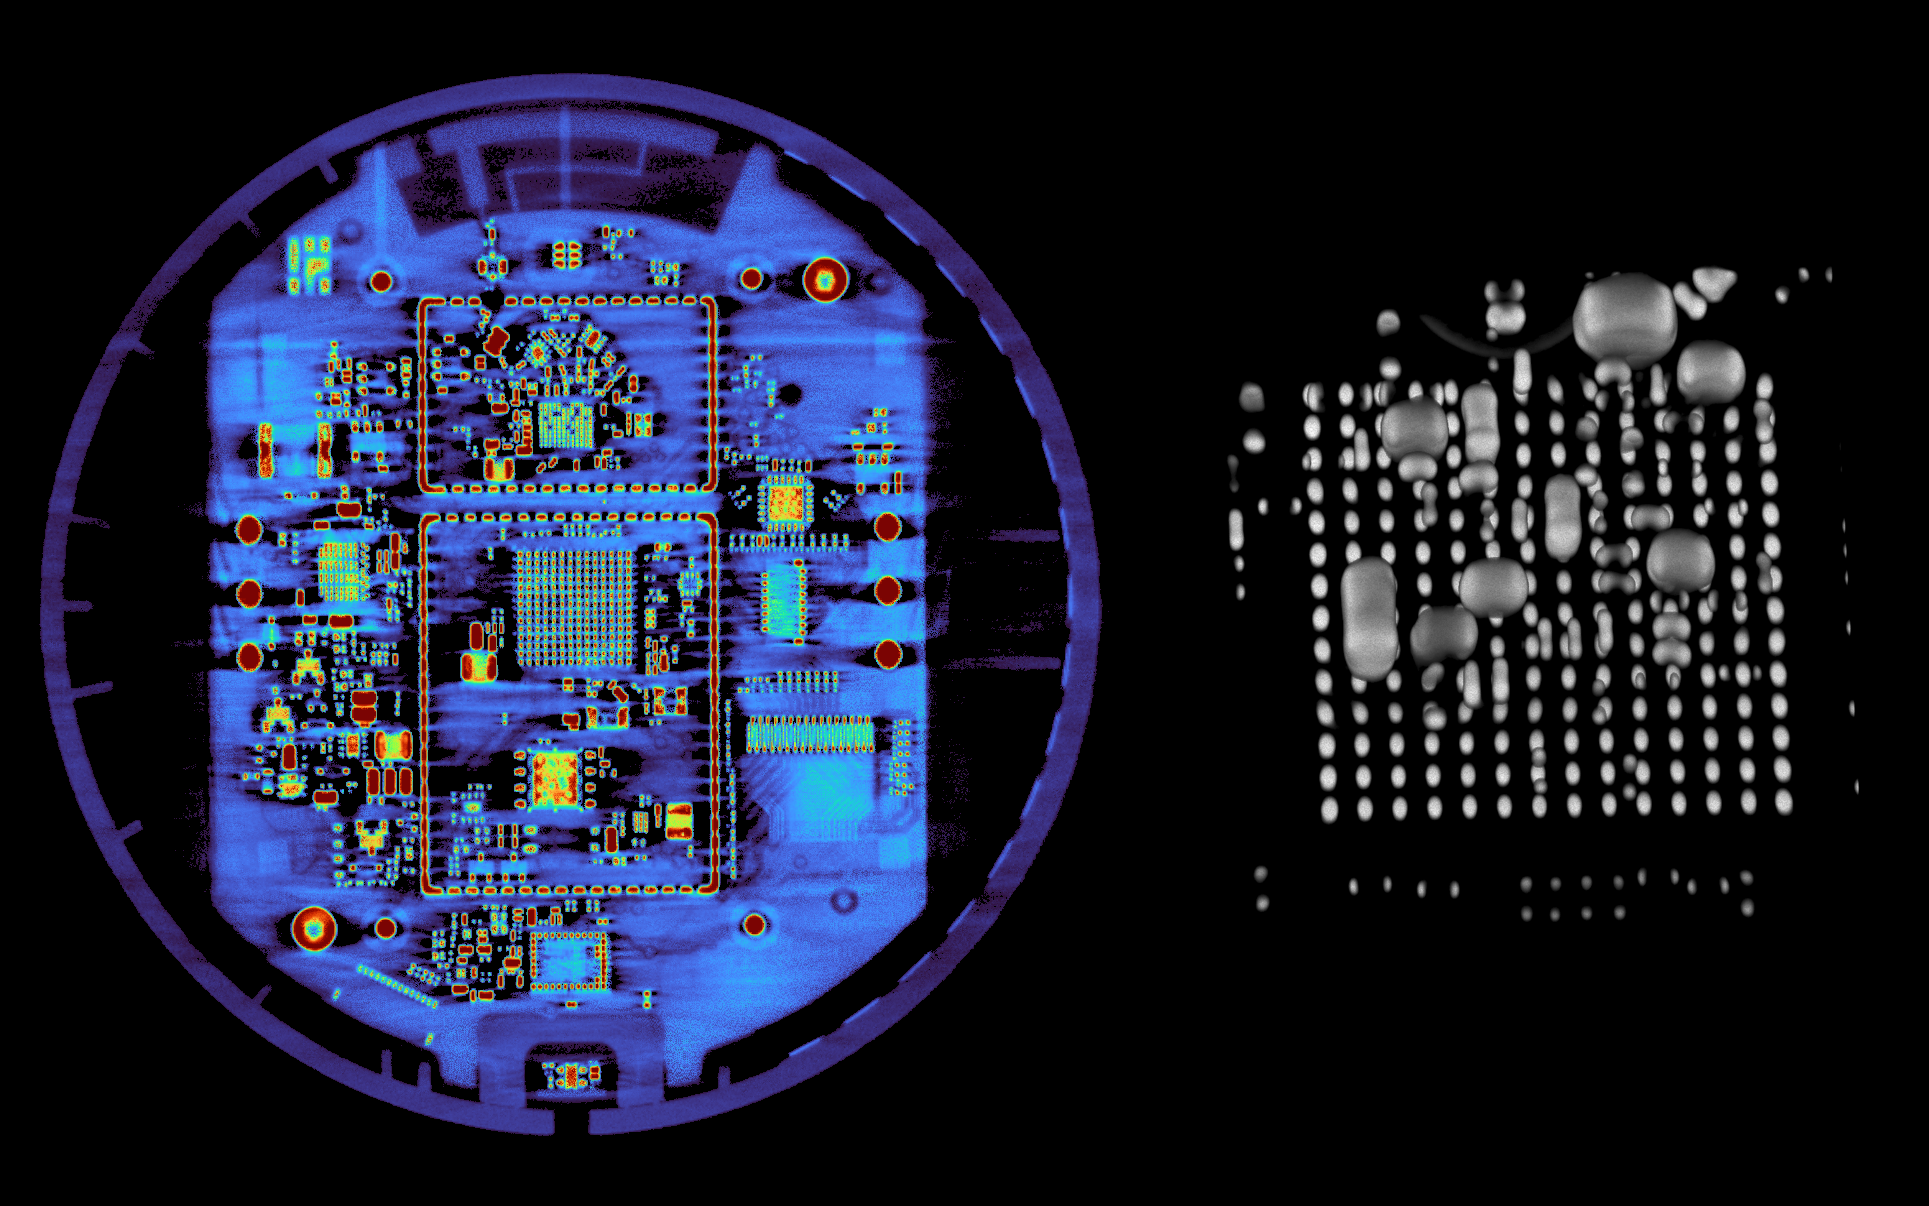
This efficiency is particularly beneficial during the R&D process, where understanding the intricacies of a new product or a prototype is crucial. CT scanning facilitates rapid prototyping and testing, enabling engineers to iteratively refine designs and detect flaws early in the development process. By offering a non-invasive way to examine prototypes or components in their functional state, CT scanning opens the door to more innovative and reliable products.
Industrial CT is equally beneficial in high-volume manufacturing. Many manufacturers remove samples from their production lines at regular intervals or at shift changeovers and section them destructively to ensure process consistency. Industrial CT reduces the time required for these regular checks, provides more detailed digital data, and reduces waste by avoiding damage to salable products.
Conclusion
With its non-destructive nature, rapid processing, and comprehensive 3D imaging capabilities, Lumafield’s CT technology marks a significant advancement in industrial inspection. It addresses the limitations of time-intensive and irreversible traditional methods, offering a more efficient, cost-effective, and versatile path forward. Industrial CT not only streamlines the inspection process but also plays a crucial role in enhancing product development, enabling quicker iterations and deeper insights. As industries continue to evolve towards more complex and high-precision components, the adoption of advanced techniques like Lumafield’s CT scanning becomes indispensable for maintaining quality, safety, and innovation in product design and manufacturing.



.png)

.png)
.png)